
React JS Tutorial
To design user interfaces, a JavaScript package named React is employed. Those who learn by doing will find this React.js tutorial useful. Check out our step-by-step guide to learn React.js concepts from scratch.
Introduction to React.js
React is a tool for creating one-page applications. We can make reusable user interface components with React. In other words, React only modifies what is necessary!
History of React.js
The first application of React.JS was for Facebook’s Newsfeed feature in 2011. V0.3.0 was first made available to the public in July 2013. React.JS is now available in version 18.0.0 (April 2022). Writing React directly into your HTML files is the easiest method of studying it.
React.Js configuration
Use create-react-app to construct a React application if you have Node.js and npx installed.
To guarantee that npx always utilizes the most recent version of create-react-app, it is advised that you uninstall the package if you have already installed create-react-app globally.
Use the following command to uninstall:
npm uninstall -g create-react-app
To create a React application with the name my-react-app, run this command:
npx create-react-app my-react-app
To run a React application, all you need to do is set up the ‘create-react-app’.
Execute the React App
Now you can launch the first React application. To get to the my-react-app directory, run this command:
cd my-react-app
To launch the React application my-react-app, type the following command:
npm start
Your newly developed React app will open in a new browser window! Otherwise, launch your browser and input localhost:3000 into the address bar.
Output

Update The React Application
Look for the src folder in the my-react-app directory. When you open the App.js file, which is located in the src folder, it will appear as follows:
/myReactApp/src/App.js:
import logo from ‘./logo.svg’;
import ‘./App.css’;
function App() {
return (
<div className=”App”>
<header className=”App-header”>
<img src={logo} className=”App-logo” alt=”logo” />
<p> Edit <code>src/App.js</code> and save to reload. </p>
<a
className=”App-link”
href=”https://reactjs.org”
target=”_blank”
rel=”noopener noreferrer”
>
Learn React
</a>
</header>
</div>
);
}
export default App;
Example
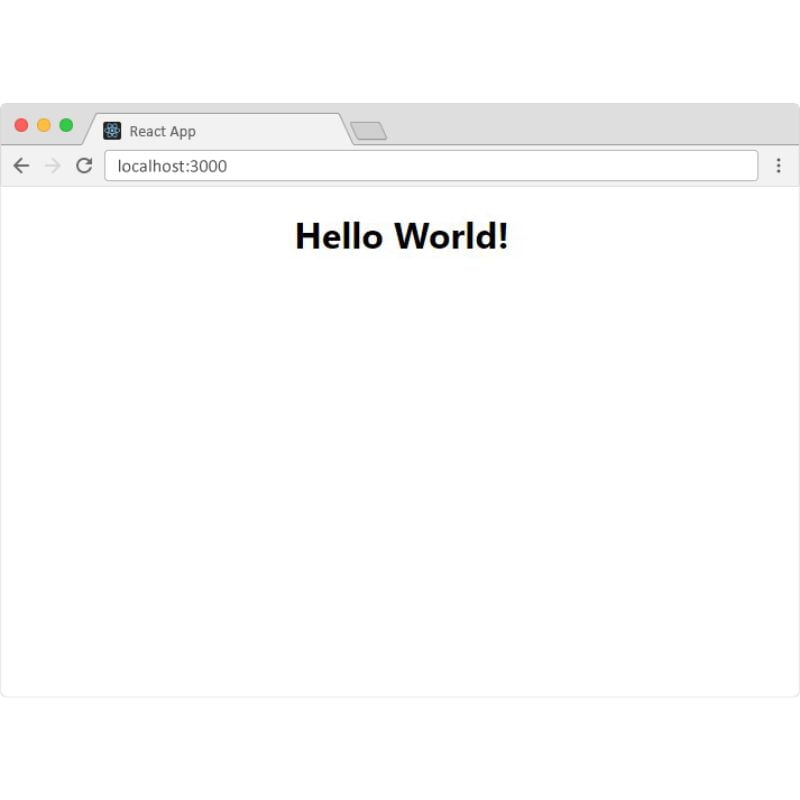
Add a <h1> element to every piece of content inside the <div className=”App”>.
When you click Save, the browser displays the modifications.
The function App() is as follows:
function App() {
return (
<div className=”App”>
<h1>Hello World!</h1>
</div>
);
}
export default App;
Output
React.JS Basics
In React.js basics, you will learn to create and nest components, add markup and styles, display data, render conditions and lists, respond to events, update the screen, and share data between components.
Creating and Nesting Components
Components are used to create React apps. A component is an element of the user interface (UI) with a unique appearance and logic. A component can have any size from a button to a whole page.
Example
function MyButton() {
return (
<button>I’m a button</button>
);
}
MyButton can now be nested inside another component after it has been declared:
export default function MyApp() {
return (
<div>
<h1>Welcome to my app</h1>
<MyButton />
</div>
);
}
<MyButton /> begins with a capital letter, as you can see. You may identify it as a React component in this way. While HTML tags must always begin in lowercase, React component names must always begin in capital letters.
App.js
function MyButton() {
return (
<button>
I’m a button
</button>
);
}
export default function MyApp() {
return (
<div>
<h1>Welcome to my app</h1>
<MyButton />
</div>
);
}
Output

The export default keywords designate the main content of the file. MDN and javascript.info are excellent resources if you’re unfamiliar with any particular aspect of JavaScript syntax.
Writing Markup with JSX
- JSX is the name of the markup syntax that you have just seen.
- Although not required, most React projects employ JSX because of its practicality.
- For local development, every tool we provide supports JSX right out of the box.
HTML is less flexible than JSX. You must close tags such as <br />. Also, your component is unable to return more than one JSX tag.
They must be wrapped into a common parent, such as an empty <>…</> wrapper or a <div>…</div>:
function AboutPage() {
return (
<>
<h1>About</h1>
<p>Hello there.<br />How do you do?</p>
</>
);
}
You can utilize an online converter if you need to convert a large amount of HTML to JSX.
Adding Styles
You use className in React to provide a CSS class.
It functions similarly to how the HTML class attribute does:
<img className=”avatar” />
The CSS rules for it are then written in a different CSS file:
/* In your CSS */
.avatar {
border-radius: 50%;
}
React does not require CSS files to be added. The easiest thing to do is to add a <link> tag to your HTML. Refer to the build tool or framework’s instructions to add a CSS file to your project.
Displaying Data
JavaScript can now include markup thanks to JSX. You can “escape back” into JavaScript with curly brackets, allowing you to embed and show a variable from your code to the user.
Example
This will display ‘user.name’:
return (
<h1>
{user.name}
</h1>
);
From JSX attributes, you can also “escape into JavaScript,” but you’ll need to substitute curly brackets for quotes. className=”avatar,” for example, gives the “avatar” text as the CSS class; however, src={user.imageUrl} reads the value of the JavaScript user.imageUrl variable before passing it as the src attribute:
return (
<img
className=”avatar”
src={user.imageUrl}
/>
);
The JSX curly braces can also hold more complicated expressions, such as string concatenation:
App.js
const user = {
name: ‘Issac Newton’,
imageUrl: ‘https://bit.ly/3xopeSB’,
imageSize: 90,
};
export default function Profile() {
return (
<>
<h1>{user.name}</h1>
<img
className=”avatar”
src={user.imageUrl}
alt={‘Photo of ‘ + user.name}
style={{
width: user.imageSize,
height: user.imageSize
}}
/>
</>
);
}
Style={{}} in the example above is a typical {} object enclosed in style={ } JSX curly braces, not a special syntax. In cases where your styles rely on JavaScript variables, you can utilize the style attribute.
Conditional Rendering
There isn’t a unique syntax in React for writing conditions. Instead, you’ll write JavaScript code using the same methods as before.
For example, to conditionally include JSX, you can use an if statement:
let content;
if (isLoggedIn) {
content = <AdminPanel />;
} else {
content = <LoginForm />;
}
return (
<div>
{content}
</div>
);
The conditional? operator can be used if you would rather write smaller code. In contrast, it functions within JSX:
<div>
{isLoggedIn ? (
<AdminPanel />
) : (
<LoginForm />
)}
</div>
There is also a shorter logical && syntax that you can use when the else branch is not needed:
<div>
{isLoggedIn && <AdminPanel />}
</div>
These methods can all be applied to conditionally specifying attributes. One approach to get started with JavaScript syntax if you’re not familiar with it is to always use if…else.
Rendering Lists
To render lists of components, you will rely on JavaScript tools such as the array map() method and the for loop. Let’s take an example where you have a variety of products:
const products = [
{ title: ‘Beans’, id: 1 },
{ title: ‘Garlic’, id: 2 },
{ title: ‘Apple’, id: 3 },
];
To convert an array of products into an array of <li> elements inside your component, use the map() function:
const listItems = products.map(product =>
<li key={product.id}>
{product.title}
</li>
);
return (
<ul>{listItems}</ul>
);
Observe that <li> possesses a key characteristic. You should pass a string or a number that distinguishes each item in a list from its siblings.
Typically, a key—like a database ID—should originate from your data.
To track changes made to the items—such as additions, deletions, or reordering—React leverages your keys.
App.js
const products = [
{ title: ‘Beans’, isFruit: false, id: 1 },
{ title: ‘Garlic’, isFruit: false, id: 2 },
{ title: ‘Apple’, isFruit: true, id: 3 },
];
export default function ShoppingList() {
const listItems = products.map(product =>
<li
key={product.id}
style={{
color: product.isFruit ? ‘magenta’: ‘dark green’
}}
>
{product.title}
</li>
);
return (
<ul>{listItems}</ul>
);
}
Output
Beans
Garlic
Apple
Responds to Events
Declaring event handler functions within your components allows you to react to events:
function MyButton() {
function handleClick() {
alert(‘You clicked me!’);
}
return (
<button onClick={handleClick}>
Click me
</button>
);
}
Observe that onClick={handleClick} ends without parenthesis! The event handler function should only be passed down; do not call it. The user will click the button, and React will run your event handler.
Updating the Screen
Most of the time, you’ll want your component to show certain information after it “remembers” it. You might like to keep track of how many times a button is clicked, for instance. Add a state to your component to accomplish this.
Import useState from React first.
import { useState } from ‘react’;
In your component, you may now declare a state variable:
function MyButton() {
const [count, setCount] = useState(0);
// …
UseState returns the current state (count) and the function (setCount) that allows you to adjust it. Although naming them is up to you, the standard is to write [something, setSomething].
Because you gave 0 to useState(), count will be 0 the first time the button is displayed. Call setCount() and feed it the new value to modify the state.
The counter will increase when you click this button:
function MyButton() {
const [count, setCount] = useState(0);
function handleClick() {
setCount(count + 1);
}
return (
<button onClick={handleClick}>
Clicked {count} times
</button>
);
}
React will make another call to your component function. The count will be one this time. After that, there will be two.
The same component will have distinct states if it is rendered more than once.
Press each button independently:
App.js
import { useState } from ‘react’;
export default function MyApp() {
return (
<div>
<h1>Counters that update separately</h1>
<MyButton />
<MyButton />
</div>
);
}
function MyButton() {
const [count, setCount] = useState(0);
function handleClick() {
setCount(count + 1);
}
return (
<button onClick={handleClick}>
Clicked {count} times
</button>
);
}
Output
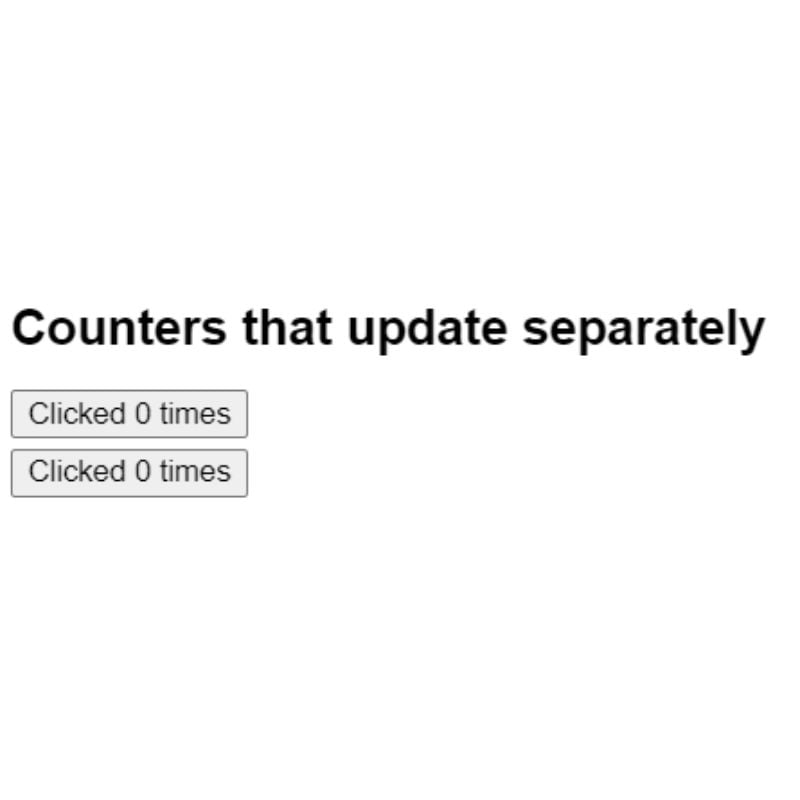
Consider how each button is independent of the others and “remembers” its count status.
Using Hooks
React offers an integrated hook called useState. Numerous built-in hooks are listed in the API reference. Additionally, you can create your own customized hooks by fusing pre-existing ones.
Hooks are more constrictive. Only hooks (or other hooks) at the top of your components may be called. To incorporate useState into a condition or loop, just extract and insert a new component.
Sharing Data Between Components
In the previous example, every MyButton had an independent count, and the only thing that changed when a button was clicked was its count:
But frequently, components that exchange data and constantly update together are required.
You must move the state from each button “upwards” to the component that is closest to containing all of the buttons for both MyButton components to update simultaneously and display the same count.
Example
Now, clicking any button will cause the count in MyApp to change, which in turn will cause the counts in MyButton to change. Here’s how to put this into code.
Move the state up into MyApp first, from MyButton:
export default function MyApp() {
const [count, setCount] = useState(0);
function handleClick() {
setCount(count + 1);
}
return (
<div>
<h1>Counters that update separately</h1>
<MyButton />
<MyButton />
</div>
);
}
function MyButton() {
// … we’re moving code from here …
}
Next, send the shared click handler and the state from MyApp to every MyButton.
The JSX curly braces can be used to give data to MyButton in the same way that you did with built-in tags like <img>:
export default function MyApp() {
const [count, setCount] = useState(0);
function handleClick() {
setCount(count + 1);
}
return (
<div>
<h1>Counters that update together</h1>
<MyButton count={count} onClick={handleClick} />
<MyButton count={count} onClick={handleClick} />
</div>
);
}
Props are the details you impart in this manner.
The handleClick event handler and the count state are now included in the MyApp component, which passes them both down as props to each button.
Lastly, modify MyButton so that its parent component reads the props you supplied it:
function MyButton({ count, onClick }) {
return (
<button onClick={onClick}>
Clicked {count} times
</button>
);
}
- The onClick handler activates upon pressing the button. The code inside of MyApp runs since each button’s onClick prop was set to the handleClick method.
- To increase the count state variable, that code executes setCount(count + 1). All buttons display the updated number since the new count value is supplied to them as a prop.
- The term “lifting states up” refers to this. You have distributed the state among components by shifting it up.
App.js
import { useState } from ‘react’;
export default function MyApp() {
const [count, setCount] = useState(0);
function handleClick() {
setCount(count + 1);
}
return (
<div>
<h1>Counters that update together</h1>
<MyButton count={count} onClick={handleClick} />
<MyButton count={count} onClick={handleClick} />
</div>
);
}
function MyButton({ count, onClick }) {
return (
<button onClick={onClick}>
Clicked {count} times
</button>
);
}
Output

Conclusion
We hope this React.js tutorial will be helpful to start learning JavaScript frameworks. Join us to learn the best React.js training in Chennai.